Quickstart Guide for Developer Hub
This guide explains how to begin integrating with Simple Connect API in a Sandbox environment.
You can start integrating Simple Connect API into your application after you create a Developer Hub account. Here’s an overview of the steps for integrating the Simple Connect API:
- Obtain your API keys. The API keys allow the server can authenticate your integration’s API requests.
- Download the Sovos Developer Hub – Simple Connect API Postman collection. This will allow you to manually interact with Simple Connect API through the Developer Hub environment.
- Configure the collection with your API keys to be authenticated by the server.
- Make an Evaluate request to confirm that everything is working properly.
- Program a request. You can use Postman to generate code snippets for different programming languages.
Obtain your API keys
Simple Connect API authenticates your requests using your app’s API keys. If you don’t include your key when making an API request, or use an incorrect or outdated key, the API will return an Unauthorized response.
You can manage API keys for apps in DevHub (https://developer.sovos.com/). When registering an app, you can select which API products to use and the site will provide an API key that you can use to access those API products.

Your API keys are available in the app panel. We include randomly generated API keys in our code examples if you are not logged in. Replace these with your own in order to test the connection.

If you can’t see your keys in the app panel, or they are invalid, contact the DevHub owner.
Download the Sovos Developer Hub - Simple Connect API Postman collection
We provide a Postman collection for testing purposes. Postman can create samples for every transaction with different programming languages.
We also provide an environment with variables that allows you to set the API key, secret key, and server URL.
To download the Postman collection, follow these steps:
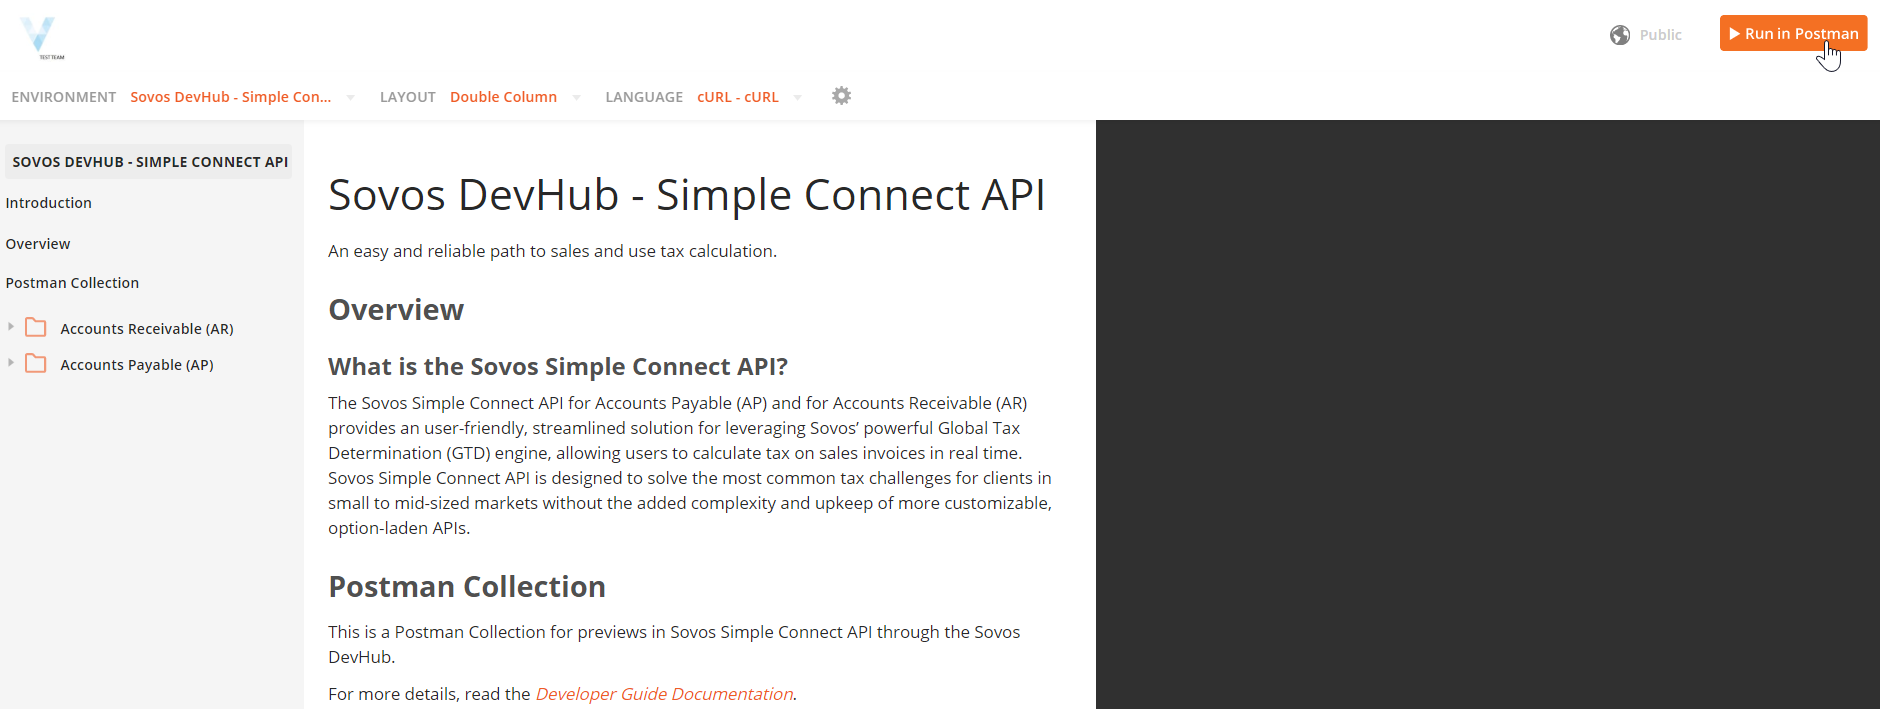
- Go to https://documenter.getpostman.com/view/4881861/TVssio9Z
- Click on Run in Postman.
- You must have Postman already installed.
- Choose your version. We recommend Desktop version.
- Select the workspace where you want to import the collection and the environment.

Once you’ve completed these steps, you need to set the configuration variables in order to send a test request to Simple Connect API.
Configure the collection with your API keys
You must change some values to allow the collection to reach the Developer Hub server.
- Go to the environment combobox and change to “Sovos Developer Hub – Simple Connect API”.
2 – Copy your API key an put it as the current value of the API_KEY.
3 – Copy the API secret associated with the API key an put it as the current value of the SECRET_KEY.
4 – Change the current value of the API_BASE_URL to “https://api-test.sovos.com”, the base URL of the DevHub REST API endpoints.
Step 4: Make an Evaluate request
Now with the environment configured in Postman, you can open an Evaluate request for AR or for AP and send that to check if your requests get authenticated by the server.
Go to “Sovos Developer Hub – Simple Connect API > Accounts Receivable (AR) > Evaluate” and send it without changing any value, if you get a “200 OK” response then now you are able to send your own transactions to Simple Connect API.
If you get another HTTP status code, it is probably a problem with the keys for authentication. Check if you implemented correctly the previous step and check if your keys are still valid, if you still gets the same error then contact the Developer Hub support team to ask for any help.
Step 5: Programming a request
Postman offers a feature that allows you to easily generate a code snippet from any request in the collection. To do that, open a request and go to “…” in the left pane and click “Code”, this will open a new window with a list of programming languages. Just select your desired programming language and postman will generate a code snippet for you.
Now using this generated code you should be able to easily integrate and send transactions from you application to the Simple Connect API.
